Setting up a web server on a Windows PC is an essential skill for developers and anyone looking to host their own websites or applications. In this comprehensive guide, we will walk you through installing a complete web server environment on your PC. This will include Apache, PHP, MySQL, and PhpMyAdmin—four critical components for running dynamic websites. Let’s get started!
What is a Web Server?
A web server is software that serves files (such as HTML, PHP, or XML) to users over the internet. It sits between the web client (usually a browser) and the requested files, handling requests using specific protocols like HTTP. A web server allows websites and web applications to function by managing these requests and responses.
In this guide, we’ll cover the steps to install a web server on a Windows PC, including configuring Apache, PHP, MySQL, and PhpMyAdmin. Once completed, your PC will be capable of serving web pages and hosting dynamic content.

Step 1: Install Apache Web Server
Apache is one of the most popular and open-source web servers used globally. It is simple to install and configure.
1.1 Download Apache Web Server.
- To get started with installing Apache on your Windows PC, head over to the Apache Lounge download page and download the version that matches your system’s architecture (32-bit or 64-bit).
1.2 Unzip the Apache Files
- Once the download is complete, unzip the file to the *C:* drive. You will typically have a folder called Apache24 or a similar name, depending on the version..
1.3 Run Apache Server
There are two methods to start Apache:
- Open Command Prompt and navigate to the Apache24\bin folder.
- Enter the following commands:
cd \Apache24\bin
httpd -k install
httpd -k start
2.Right-click Method:
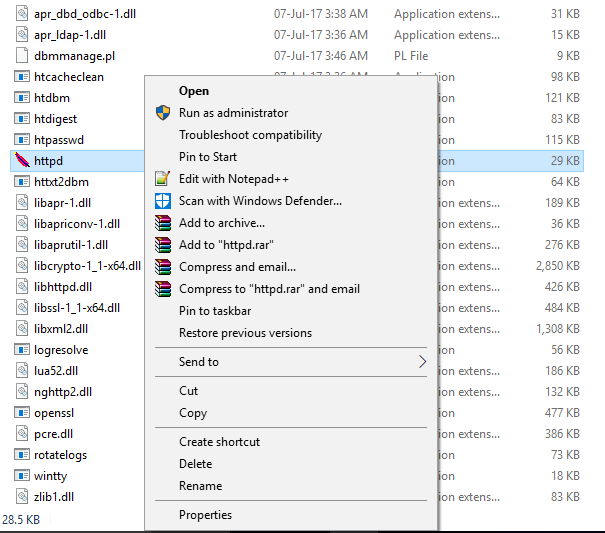
- Right-click on httpd.exe and select Run as Administrator.
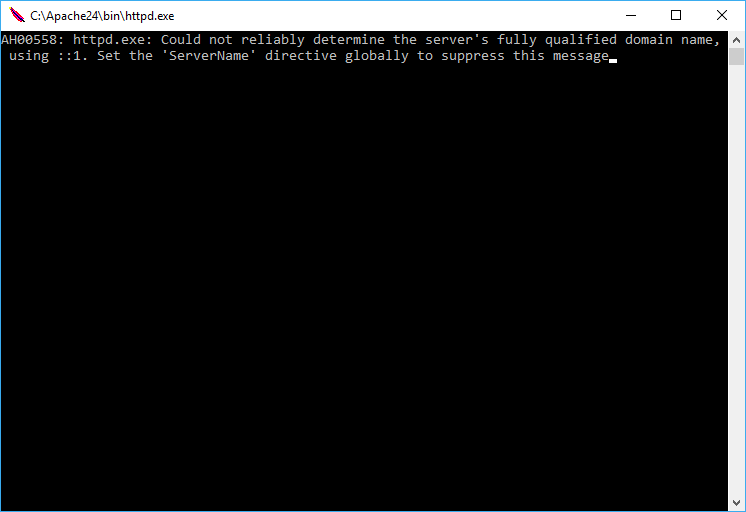
You may get a warning about the server name. Don’t worry about it. Don’t close this window such as below screen.
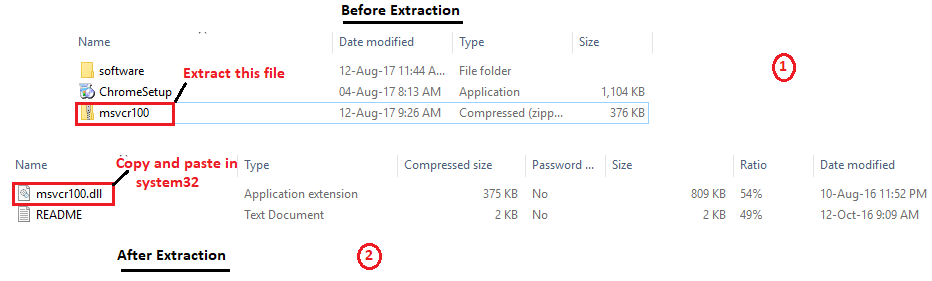
1.4 Handle Missing DLL Files
- If you see an error like MSVCR100.dll is missing, download the missing DLL file and place it in C:\Windows\System32.
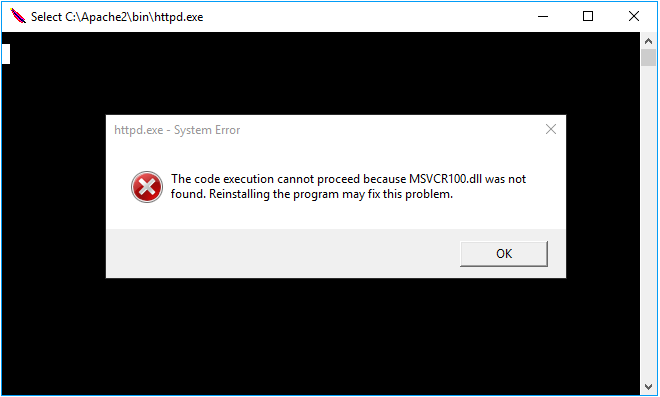
You can download MSVCR100.dll zip file by clicking here .
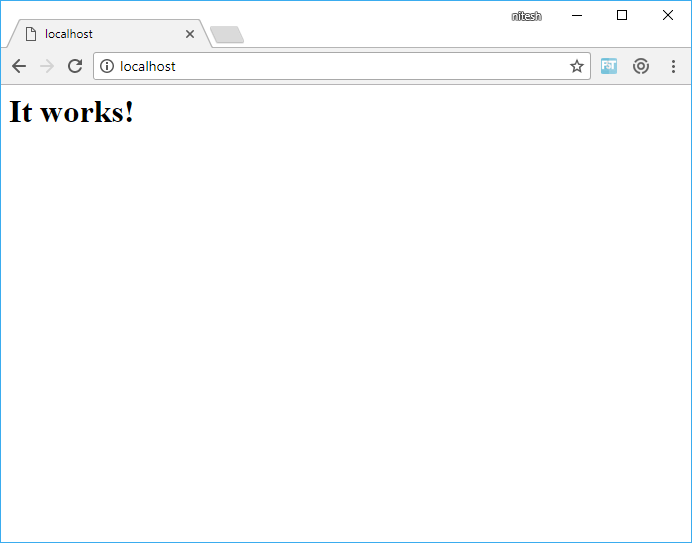
1.5 Test Apache Installation
- To test your Apache installation, open your browser and go to http://localhost. If Apache is set up correctly, you should see a test page confirming it’s working.
Step 2: Install PHP
PHP is a server-side scripting language used to create dynamic web pages.
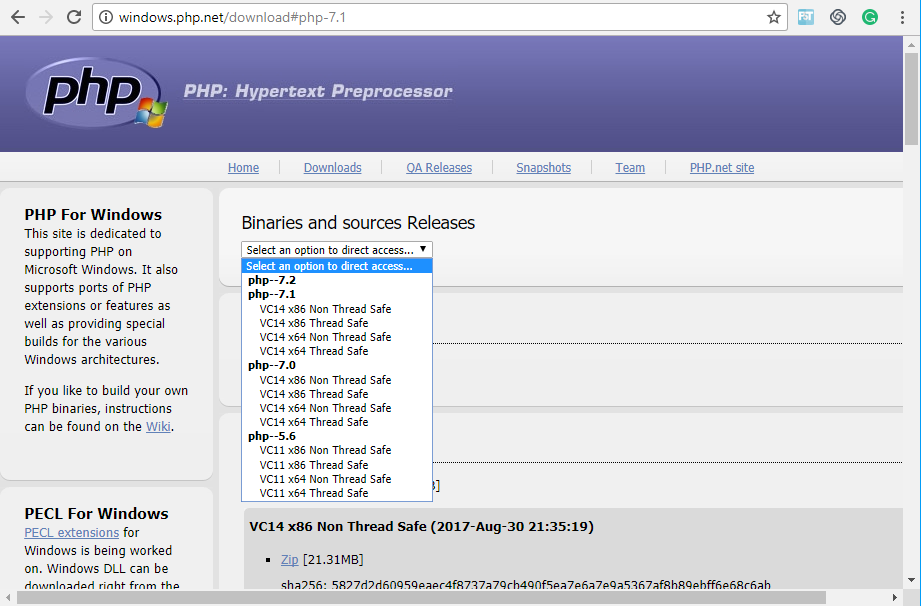
2.1 Download PHP
- Head over to the PHP download page and download the Thread Safe version that matches your system architecture (VC14 x64 or VC14 x86).
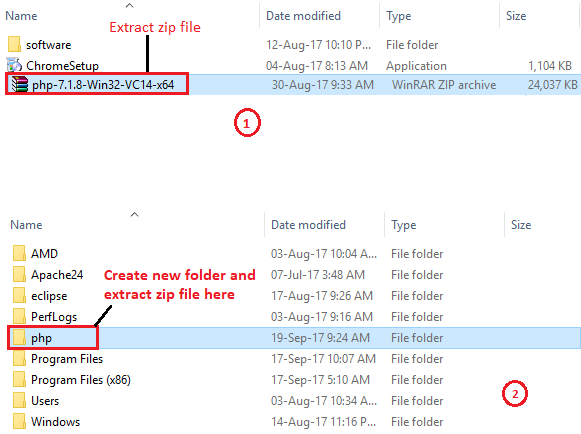
2.2 Extract PHP Files
- After downloading, extract the PHP files to C:\php.
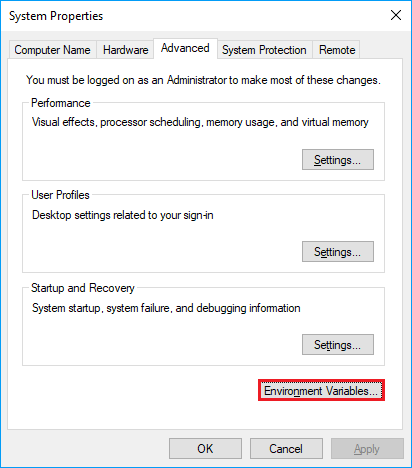
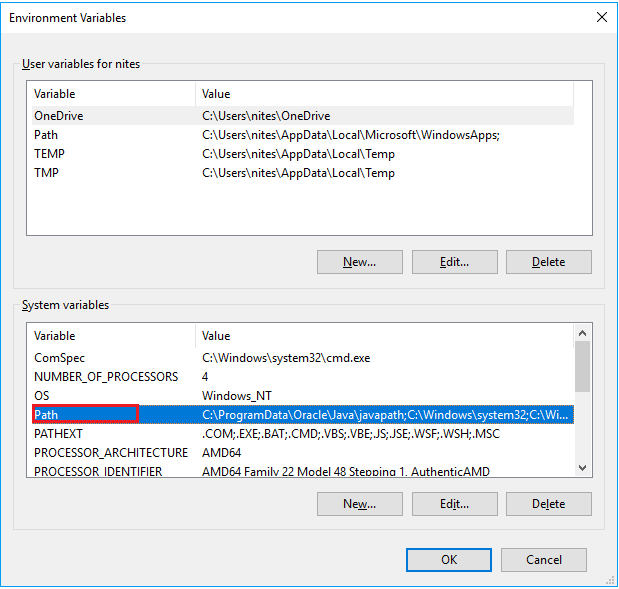
2.3 Update System Environment Variables
- Add the php directory to your system’s PATH variable so Windows can locate PHP::
- Go to Control Panel > System > Advanced System Settings.
- Click on Environment Variables.
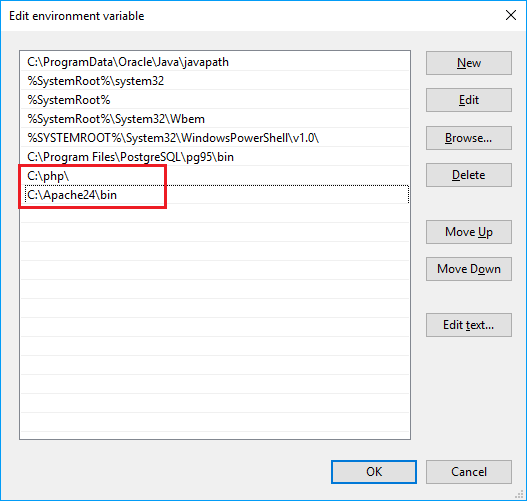
- Add C:\php to the Path variable.
2.4 Configure Apache to Use PHP
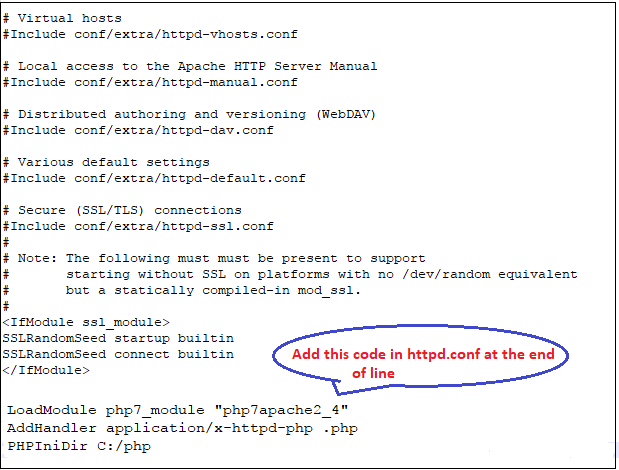
- Open the httpd.conf file located in C:\Apache24\conf.
![]()
- Add the following lines after the LoadModule section to enable PHP:
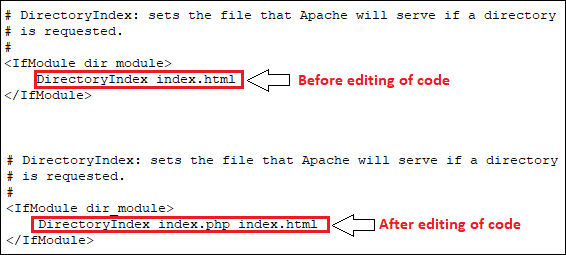
- Change the DirectoryIndex line to:
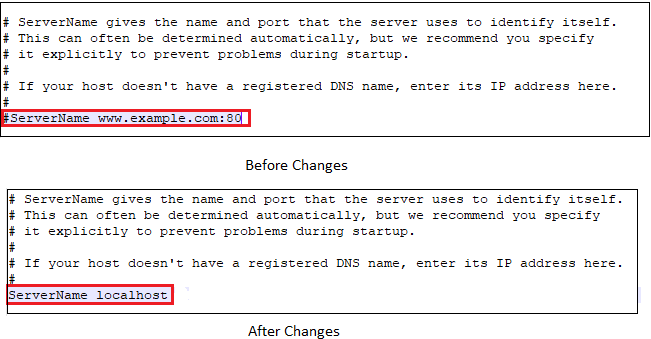
- Editing the ServerName variable, replace with either the system’s hostname or localhost
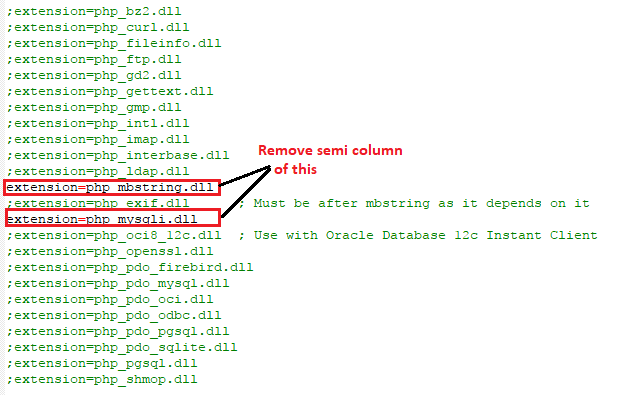
2.5 Configure PHP
- Rename php.ini-production to php.ini in the C:\php directory and update configurations as needed.
2.6 Create a Test PHP File
- Create an index.php file in C:\Apache24\htdocs with the following content:
<? phpinfo() ?>
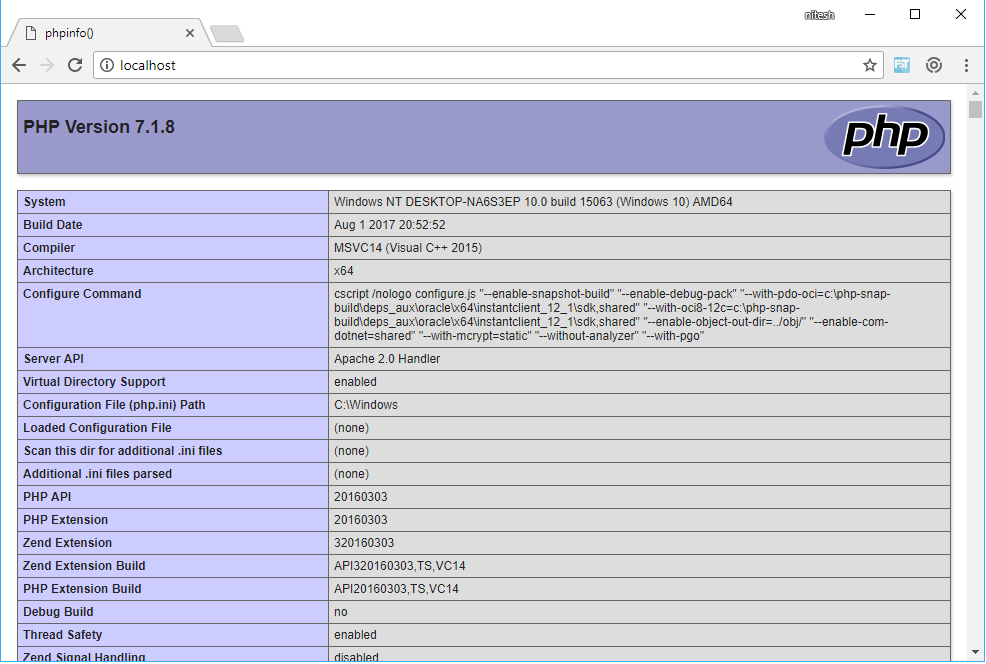
2.7 Test PHP Installation
- To test PHP, open http://localhost in your browser. You should see the PHP information page if everything is set up correctly.
Step 3: Install MySQL
MySQL is the database server that stores and manages data for your websites.
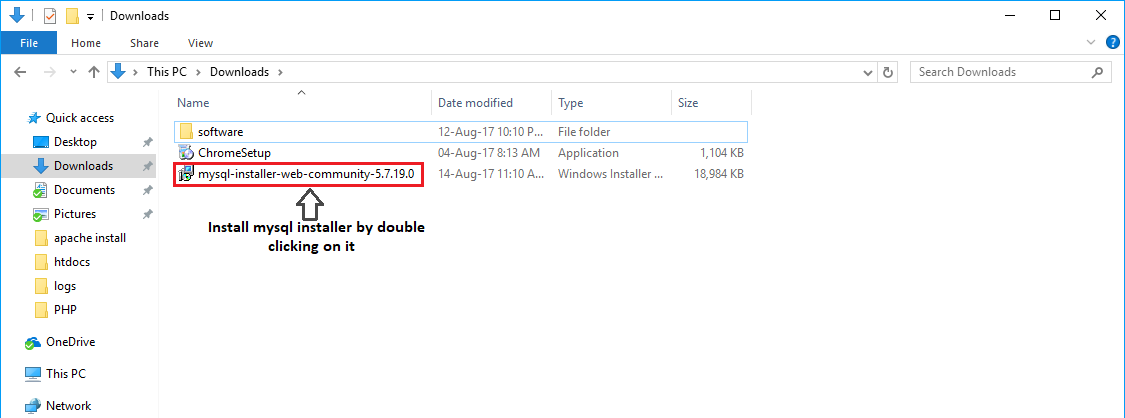
3.1 Download MySQL
- Go to the MySQL Installer page and download the installer for Windows.
3.2 Run the MySQL Installer
- Run the MySQL installer and follow the instructions to complete the installation. During setup, you’ll need to set a password for the root user.
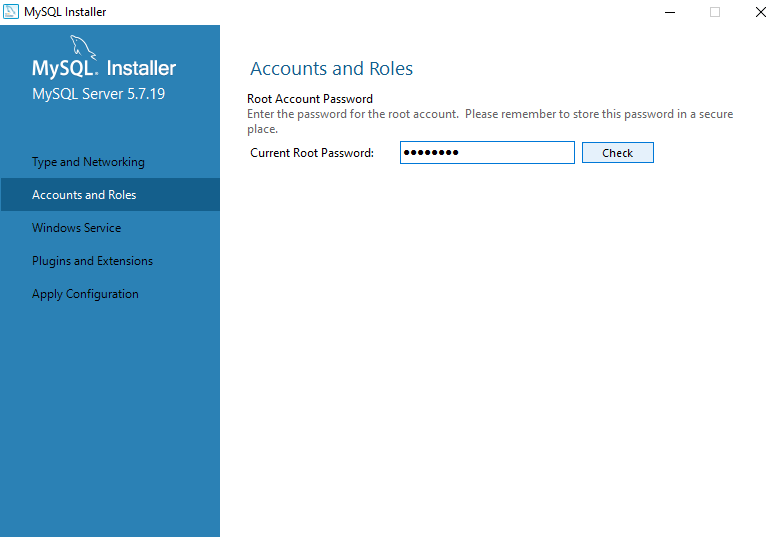
3.3 Configure MySQL
- Set the root password during installation and configure the necessary settings.
- If prompted, configure the MySQL server and set the default port as 3306.
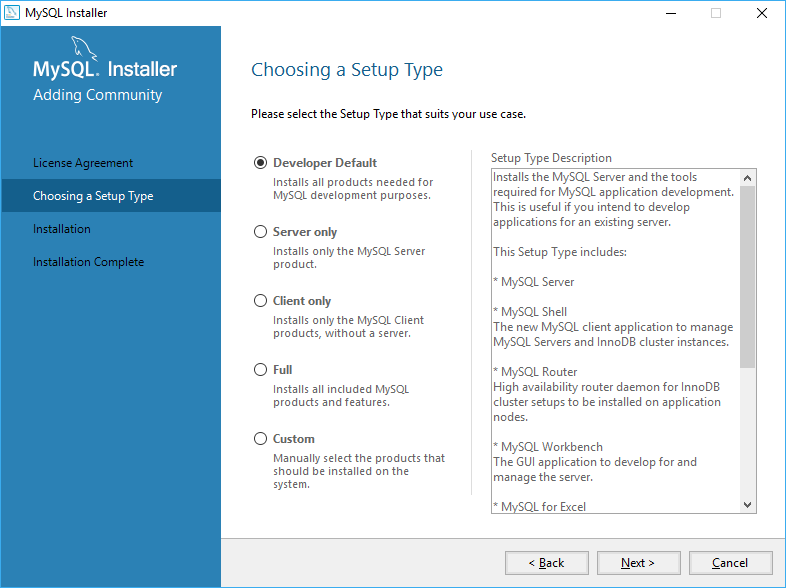
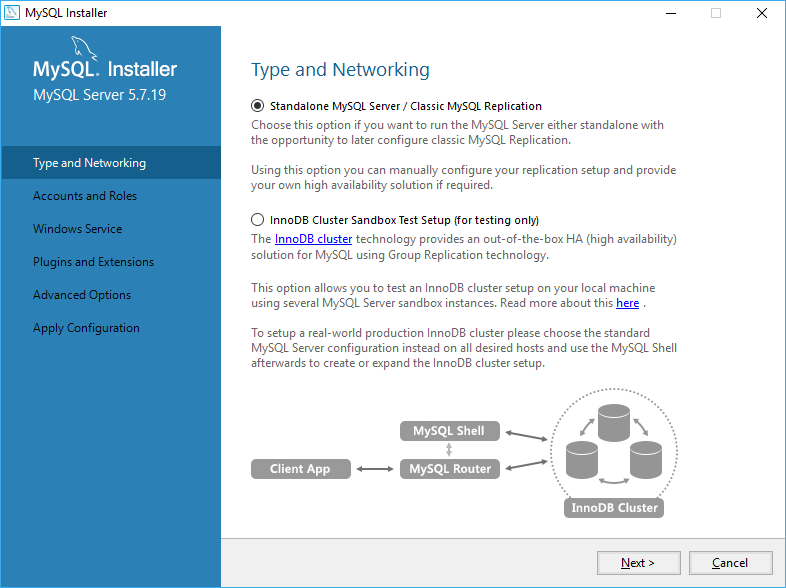
Choose proper setup type as per your requirements and proceed.
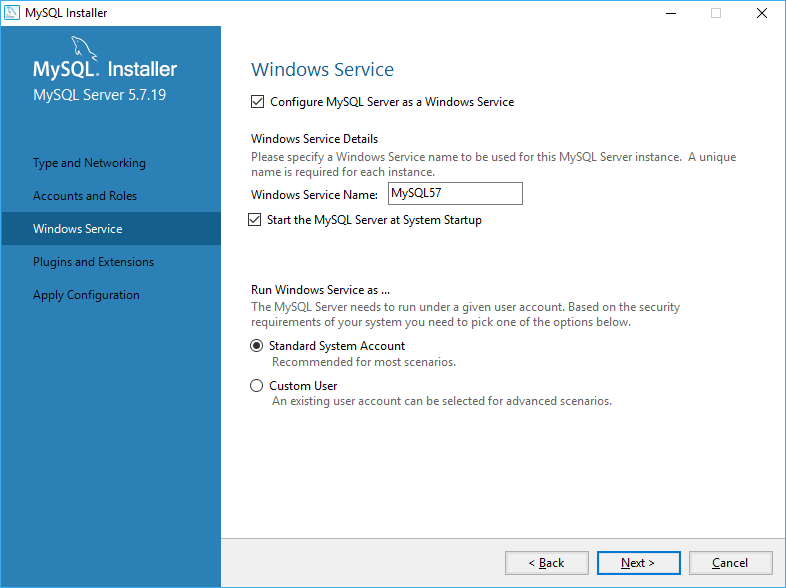
- Execute all the following product, if some product execution failed then not an issue you will proceed.

- In product configuration section MySql product related configuration are done as shown below.
- You can define the password for your root account of MySql.
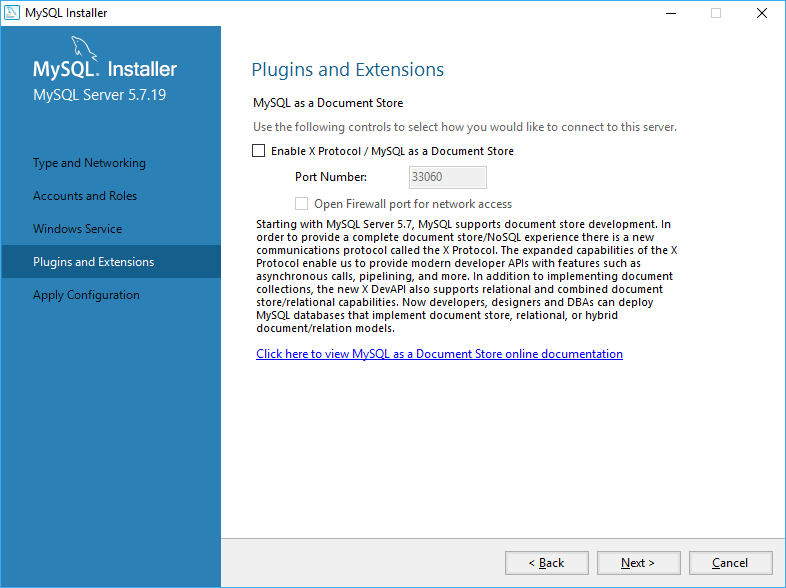
- In Plugins and Extensions you can enable x protocol or by default, it has shown port number 33060 for MySql.
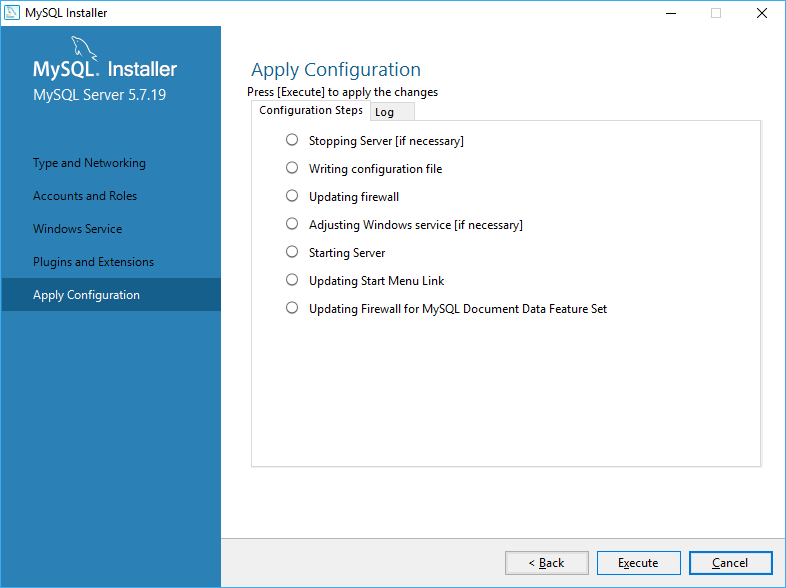
- Apply all configuration which is shown in below screen by pressing execute button at the bottom.
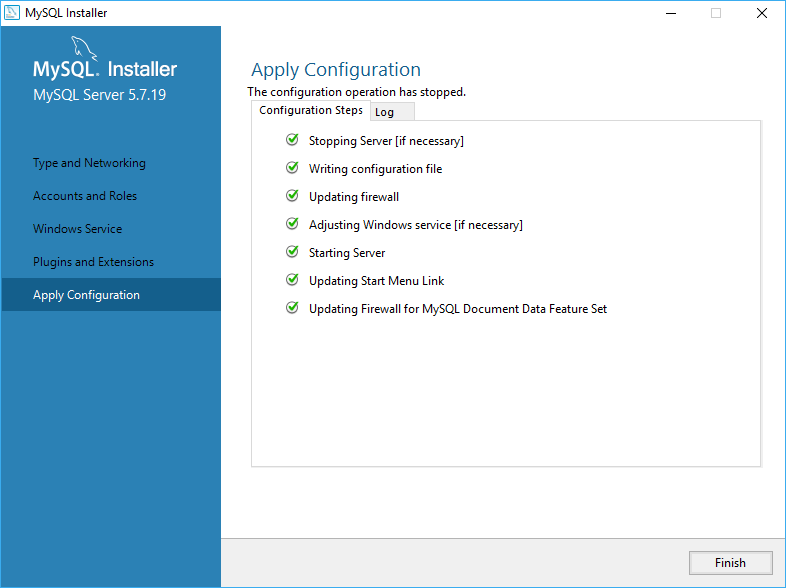
3.4 Finish Installation
- Once installation is complete, MySQL will be running and accessible.
Step 4: Install PhpMyAdmin
PhpMyAdmin is a web-based interface for managing MySQL databases.
4.1 Download PhpMyAdmin
- Visit the PhpMyAdmin download page and download the latest version.
4.2 Extract PhpMyAdmin
- Extract the downloaded PhpMyAdmin folder to C:\Apache24\htdocs and rename the folder to phpmyadmin.
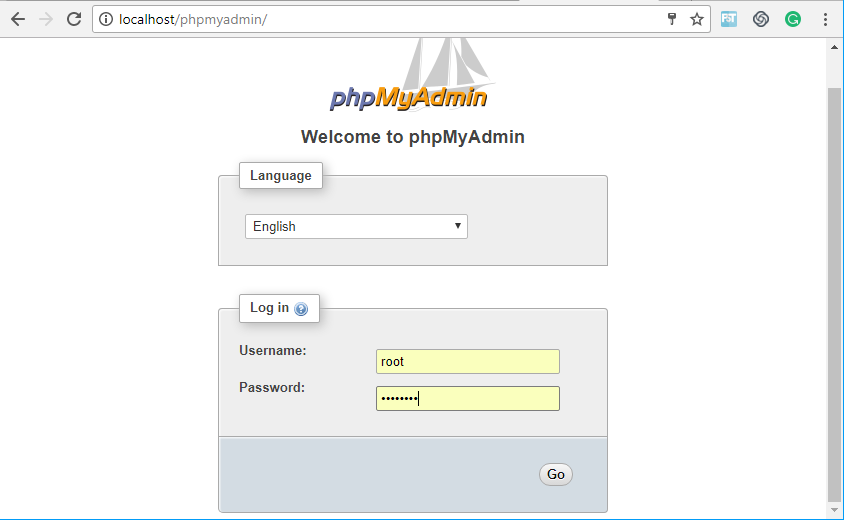
4.3 Test PhpMyAdmin Installation
- Once PhpMyAdmin is installed, open your browser and go to http://localhost/phpmyadmin. You should see the PhpMyAdmin login screen.
Conclusion
You’ve successfully installed a complete web server environment on your Windows PC! This setup includes Apache, PHP, MySQL, and PhpMyAdmin—giving you everything you need to host dynamic websites and applications.
With this local environment, you can start developing and testing websites before deploying them to a live server. If you encounter any issues or need help, don’t hesitate to reach out!
For more related tutorials, check out our guides on here and Apache HTTP Server.